Starting your OctoBot
After installation, OctoBot starts in node mode and opens its node interface. From there you can:
- Run automations configured and monitored from the new OctoBot interface or the mobile app (recommended for most users).
- Launch manual OctoBots with their own interface, deeper configuration and the backtesting engine (for expert users).
See the getting started guide for setup steps, or the connect guide if you have connection issues.
Automations
Automations are the new way to run OctoBot. An automation is a strategy running on your OctoBot node. It can do anything: DCA, baskets, grids, TradingView automation, and more. Automations support demo and live trading.
Configure and monitor your automations from the new OctoBot interface or the mobile app. This is the recommended path for most users.
Step-by-step setup is below. For a dedicated walkthrough, see the getting started guide. For the full vision behind automations and node mode, read The Next OctoBot, one platform for your entire crypto portfolio.
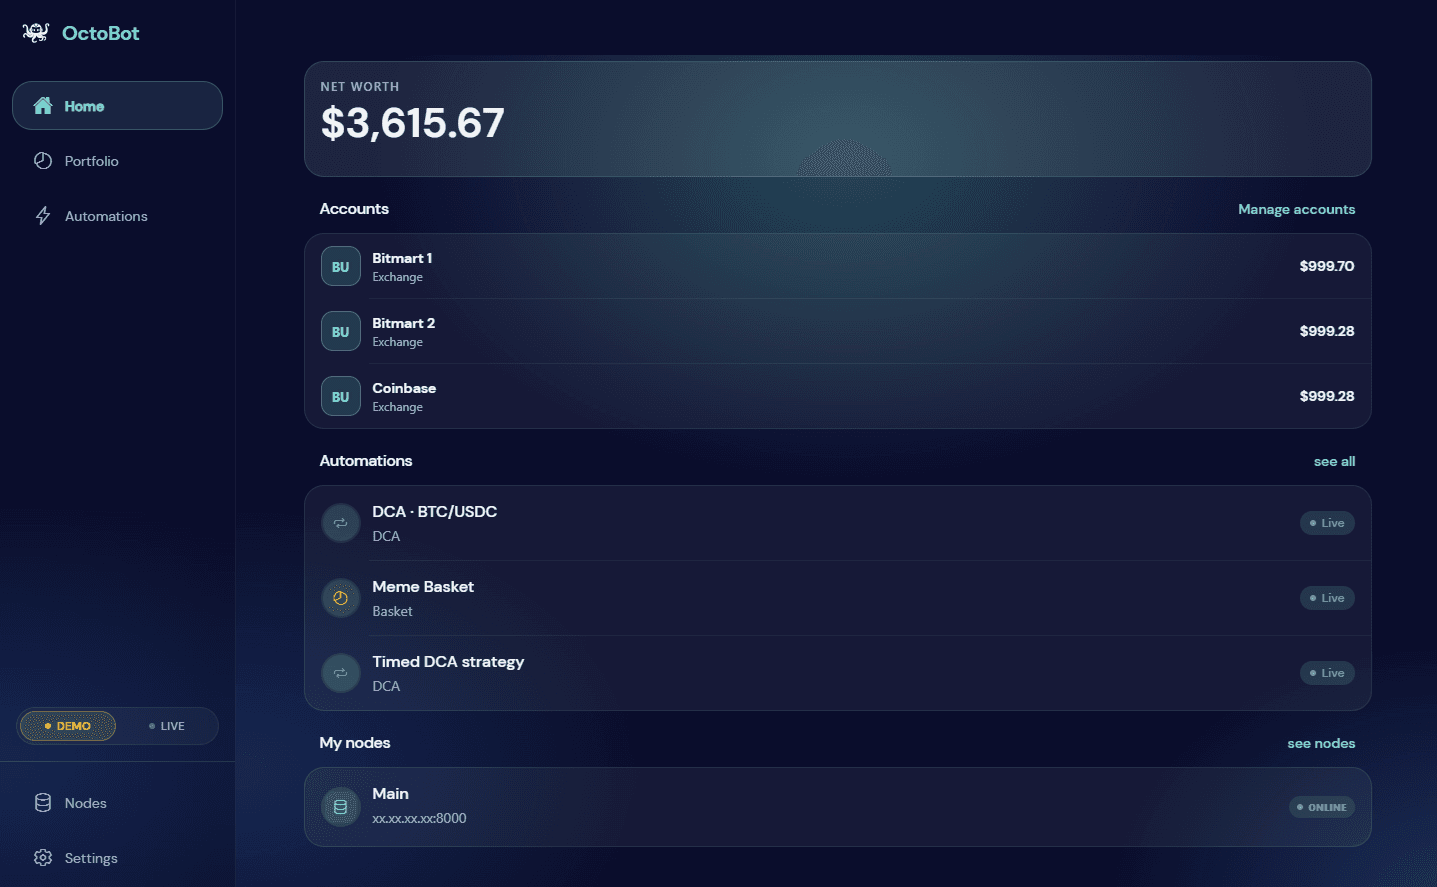
After installation: Starting your OctoBot
- Open the node setupOpen
http://localhost:8000on the PC where OctoBot is running. The node setup screen opens in your browser. - Set up your node walletOn the node, create or import your node wallet to secure your node and its data. This wallet is not a cryptocurrency wallet, do not use a crypto wallet private key and never share your private key with anyone.
- Connect your Node to your OctoBot interfaceFrom the Connect your Node to your OctoBot interface step (or Settings → Connect → Web tab), open new.mobile.octobot.cloud. I already have a wallet → I already have a private key. Paste Copy your private key from this node. Then new automation → any type → Add a node → Existing install. Hostname: the hostname or IP the node shows. Port: 8000 (or what the node shows). Click Save when the checks turn green. Still Unreachable? Check our connection troubleshoot.
- Launch your first OctoBotOn new.mobile.octobot.cloud, leave demo mode on (default for risk-free simulated trading). Add an exchange account with 1000 USDC (or the crypto of your choice). Start a new automation (for example a Grid on BTC/USDC, if you added USDC to the demo account) and follow your automation from your OctoBot interface.
- Your node is now executing your strategyWhen you start an automation, the node runs it on its computer. You do not need to keep the browser tab or app open. Just leave the OctoBot program running so that it keeps trading. You can run as many automations as you want, on most crypto exchanges, with demo and real accounts. When needed, feel free to stop and restart your node, it will resume trading when you turn it back on.
Use new.mobile.octobot.cloud or the iOS or Android app on a regular basis to follow your investments and turn automations on and off. Go back to the node interface at http://localhost:8000 only for configuration, administration, or to connect to a new phone or computer.
Connection problems? Read the Node Connect Guide. If your node shows Unreachable, see connection common issues.
Manual OctoBots
For backtesting, Telegram, TradingView, and other advanced workflows, start a manual OctoBot instance from your node interface by clicking New OctoBot.
With the OctoBot trading robot you can create, test and configure your investment strategies with your own setup. Manual OctoBots have their own interface, deeper configuration options, and a backtesting engine. Install your trading bot on your computer or on a cloud server.
The guides below (configuration, trading modes, backtesting, interfaces, and more) apply to manual OctoBot instances started from your node.
Using OctoBot cloud
Use OctoBot cloud to easily invest in crypto baskets, profit from ready-made investment startegies and automate TradingView strategies.
In this case, www.octobot.cloud is made for you and the Investing section of those guides is what you are looking for.
Configuration and trading modes
OctoBot supports many trading strategies: the trading modes. Each trading mode is unique and consists in a different trading technique. Trading modes can:
- Trade on spot or futures markets.
- Use statistics and technical analysis to find the best trade entries and exits.
- Trade based on AI and ChatGPT predictions.
- Use market-making algorithms to minimize risks and grant regular small gains.
- Trade upon alerts from platforms such as TradingView.
- Use the best OctoBot cloud strategies
Do something entirely different based on your ideas:
- Customize your OctoBot to make it trade according to your ideas
- Or code and test your ideas directly using OctoBot script.
Chat directly with OctoBot
You can remotly command your OctoBot by connecting it to Telegram. You can follow what is your robot doing, watch its portfolio, its profits, trigger an emergency sell… Access your OctoBot from wherever you want, whenever you want thanks to its Telegram interface.

See the Telegram interface configuration for more details on the OctoBot Telegram interface.
Optimize your OctoBot using backtesting
Using OctoBot’s backtesting, test your current trading strategy using historical data from the markets you
want to trade. Most OctoBot configurations are testable in
backtesting.
Fine tune your bot’s configuration up to the very last detail and maximise your profits.

Take it one step further using OctoBot script
Turn your trading ideas into tested and optimized strategy using OctoBot script. Directly code your strategy in python while benefiting of all the OctoBot tools and an extremely flexible reporting and visualization system. Analyse exactly what is happening when running your ideas on past data and create your best strategies.

Supported exchanges
Find the list of supported and partner exchanges on the exchange summary.
Developer guides
Find the developpper guides on the developers section.